You’ve heard it 100 times! So here it comes for the 101st time… a picture speaks a thousand words and nothing sells an Airbnb vacation rental better than stunning photography.
The time you invest in photography for your platforms such as Airbnb, Vrbo, Google, TripAdvisor Rentals or even your own website is extremely, crucially, vitally important.
What sells best online? It’s the photos, stupid! More than words, more than technology. Guests take 60 seconds to absorb a sentence or description, but will make a decision in under 3 seconds on the basis of a good photo.
Should I hire a vacation rental photographer?
While hiring a professional photographer is often the best thing to do, we understand that it is not within everyone’s budget.
However, before you give up on the idea of using a pro, know that many will do the job for as little as £200, as digital imaging has greatly reduced their costs.
And many will offer a great deal more, such as Virtual 3D Tours, interactive maps, or even using a drone for aerial shots or videos – these can be truly spectacular if you are marketing multiple vacation rental units in a large domain, farm, ranch or estate.
But if you’re ready and determined to take matters into your own hands, you’ve reached the right place! In this guide, we’ll walk you through every step of professional vacation rental photography, from staging your accommodation to capturing the perfect shot and editing it to excellence.
Most of our photography tips are backed by the expertise of Léa Neskens, Customer Success Manager at Utopix, who shared her insights with us in the eviivo SHARE webinar from the 16/12/20, titled ‘Prepare and present your property perfectly, ready for 2021′. Utopix is a platform that brings together photographers and videographers that specialise in real estate photography with the people that need their services.
So, take it from the professionals and get ready to make your OTA (online travel agency) listings and website shine in 4 easy steps!
Step 1: Planning Your Vacation Rental Photoshoot
Whether you choose to hire a professional photographer or to step into the shoes of one for the day, good planning is essential to ensuring that your brand new shots make a great impact.
Either way, to avoid any regrets or a wasted opportunity, make sure you plan and prepare your photoshoot and always take the following into account:
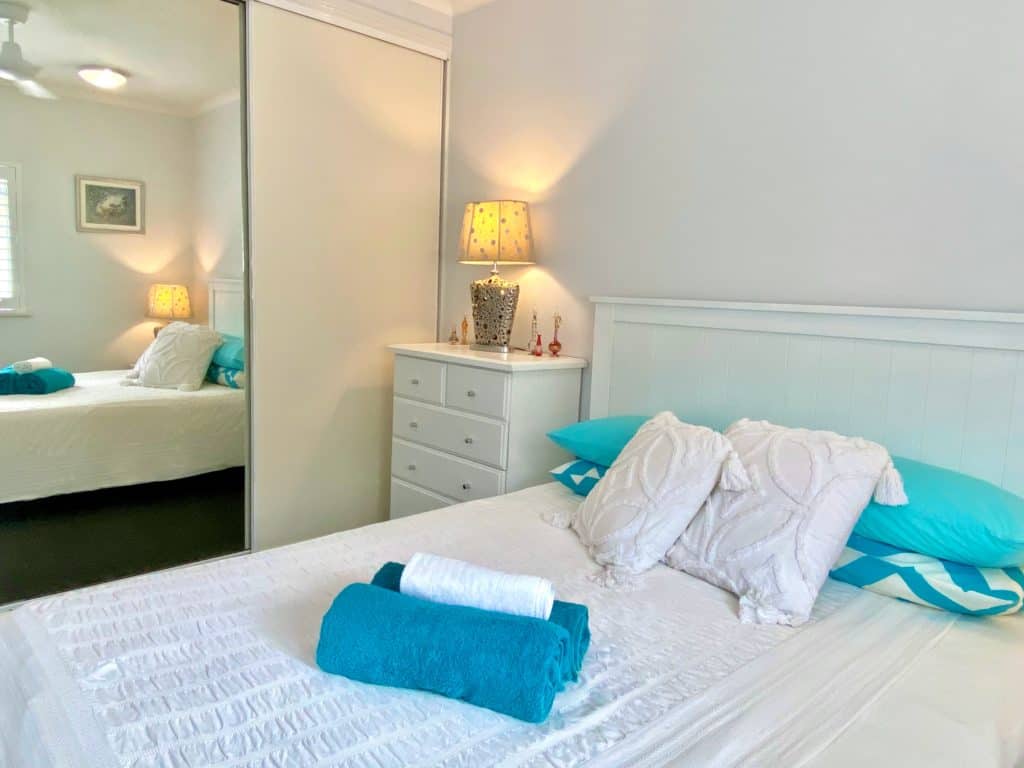
1. Capture every room and facility
Include every single room and facility – when you list your accommodation online, you need to ensure your guest is adequately informed and avoid raising unnecessary suspicion!
For example, if you advertise a two-bedroom apartment, show both bedrooms, and all bathrooms too. Did you know that bathroom photos increase demand by up to 30%? Most booking sites, including Airbnb, recommend a minimum of 3 pictures for every room in your listing.
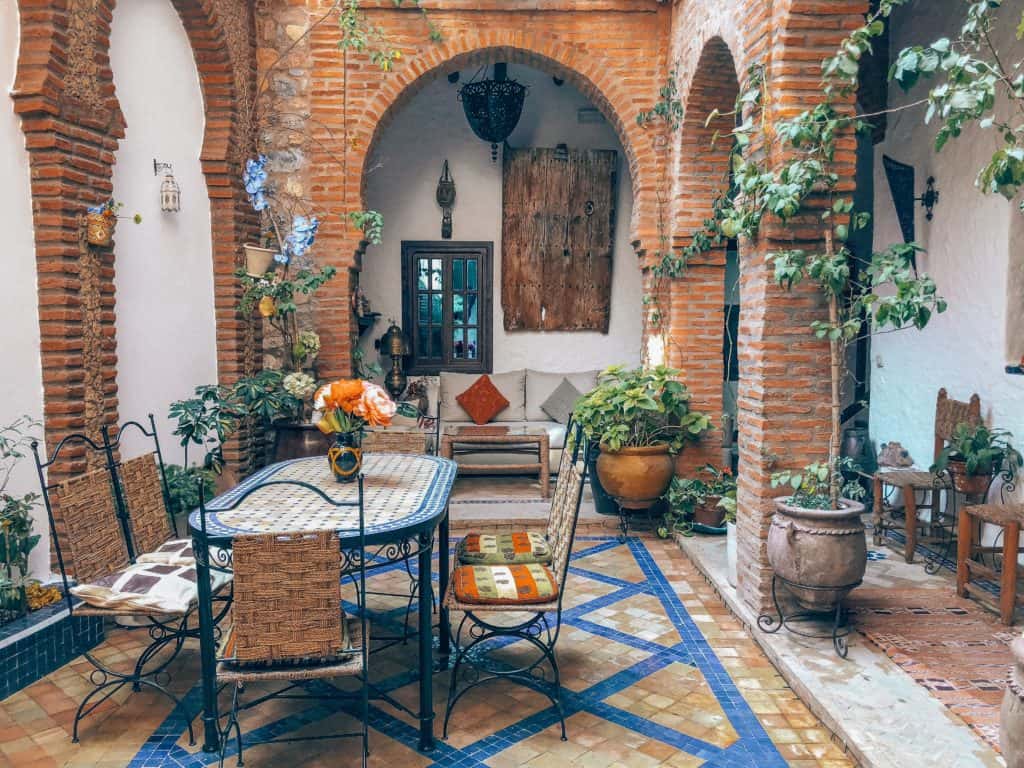
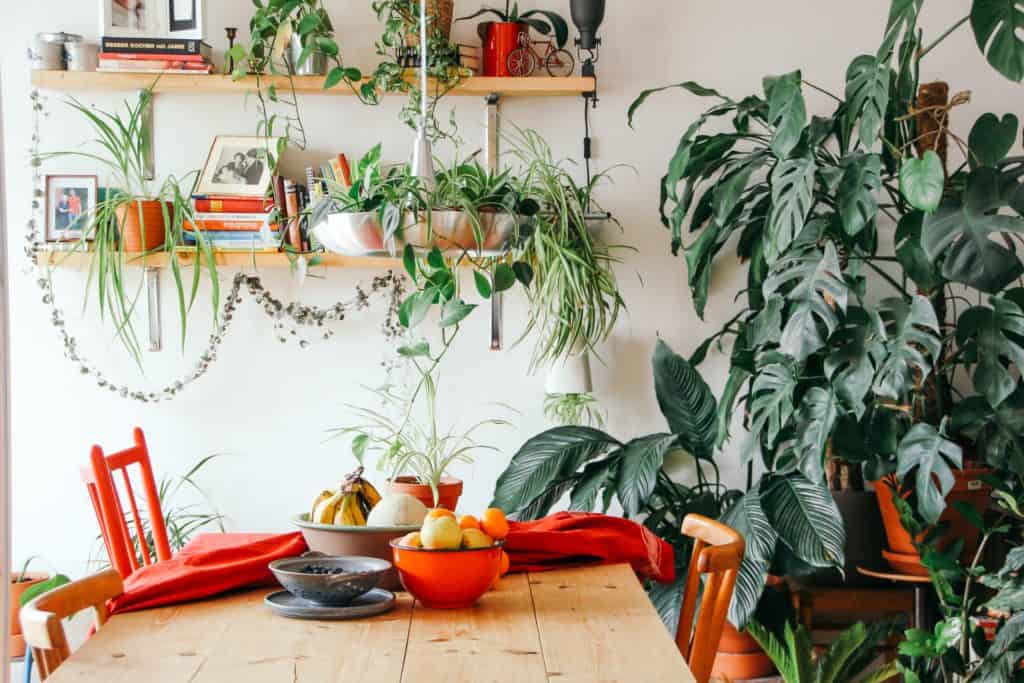
2. ‘Signature’ details
Most professional photographers and booking agencies ask that you include photos of the most interesting details within your vacation rental.
Just think of all these interior decoration pictures; unique ornaments, quirky items, stylish decorations and aesthetic corners in your home add interest and therefore value to your rental, so add them to the list!
Think of it this way – which decorative detail or striking art piece would you instantly appreciate amongst a hundred others? What elements of your property radiate its unique character?
Bring them out by all means, but paradoxically, make sure they have universal appeal and avoid anything that risks offending or shocking the viewer.
3. Accessibility features
Always highlight special accessibility features for guests who need them. Vrbo, TripAdvisor Rentals and Booking.com all emphasise their importance, as it can be a big differentiator. Here’s a useful Airbnb guide for this.
4. Your location
Aside from your property, guests will also be interested in the area they’ll be staying in. So, make sure to take pictures of the exterior of your vacation rental, including nearby areas, points of interest, and key attractions!
Vrbo and Expedia have carried out numerous studies that show that any room photos with an open window or balcony, showing a great view, add value by increasing bookings and revenues.
5. Your ‘cover photo’
Airbnb photographers note that the ‘cover photo’ (i.e. the main photo used for your online listing) is by far the most important picture.
It sets the mood and sets your property apart from others, and ultimately this is the 3-second photo that determines whether or not a prospective guest will continue their booking journey with you, rather than click on to the next listing.
To get this right, study your local competition – search for similar accommodation on Google, Airbnb, Vrbo or Booking.com and try to find an angle or the most appealing part of your property in order to pique interest.
Pick a room, a view, an element that most perfectly captures its beauty and uniqueness, and spend whatever time it takes to get it right on the day of the photoshoot.
6. Don’t forget the lighting!
A photo always looks best with optimal natural lighting. Léa’s advice is to carry out your photoshoot in the middle of the day, and ideally on a sunny day!
A grey sky makes your accommodation look sad and claustrophobic, as it paints a gloomier picture. So, keep an eye on the weather forecast before you start snapping away.
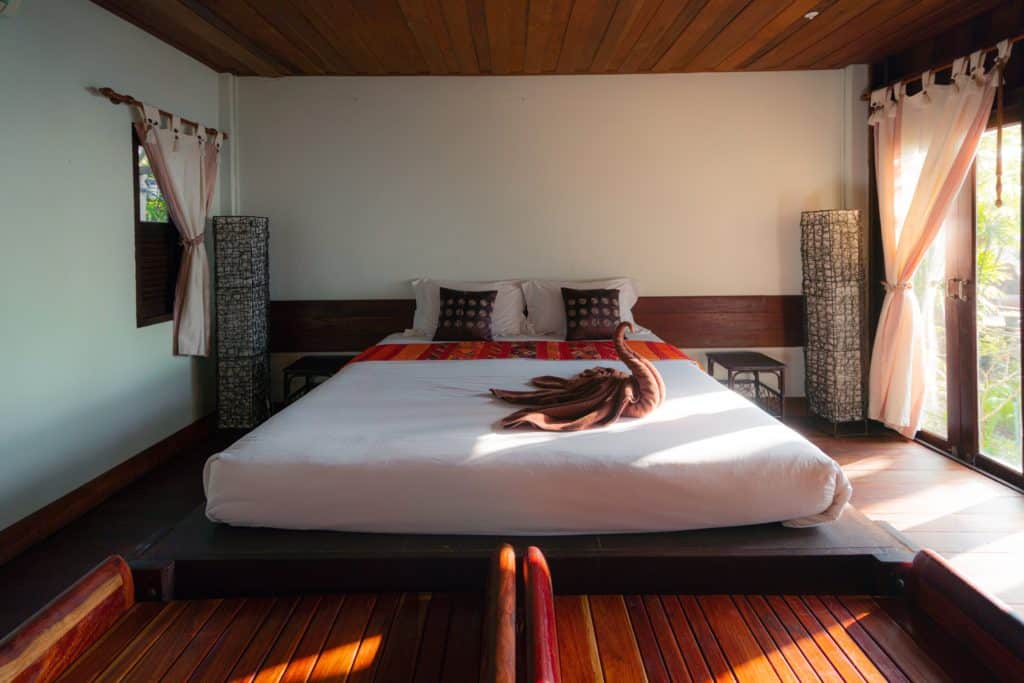
Step 2: Staging
Before you start your vacation rental photoshoot, make sure that your rooms are looking their absolute best – i.e. the cleanest and neatest you’ve ever seen them, with all the finishing touches and care you’d pour into them to host the strictest, nit-pickiest critic.
In a nutshell, your rooms need to look clean, tidy, spacious and bright. To achieve this, Léa recommends removing any unnecessary clutter that makes the room look busy.
It is absolutely critical to eliminate any distracting elements that downgrade the aesthetic value of your picture, such as any electric wires lying about. This includes clothes or cleaning products left about on countertops or in the bathroom.
Potential guests have to imagine themselves staying there, so avoid including other people in the photo – the photographer’s reflection in a mirror is a big no-no! Capture the room, and only the room.
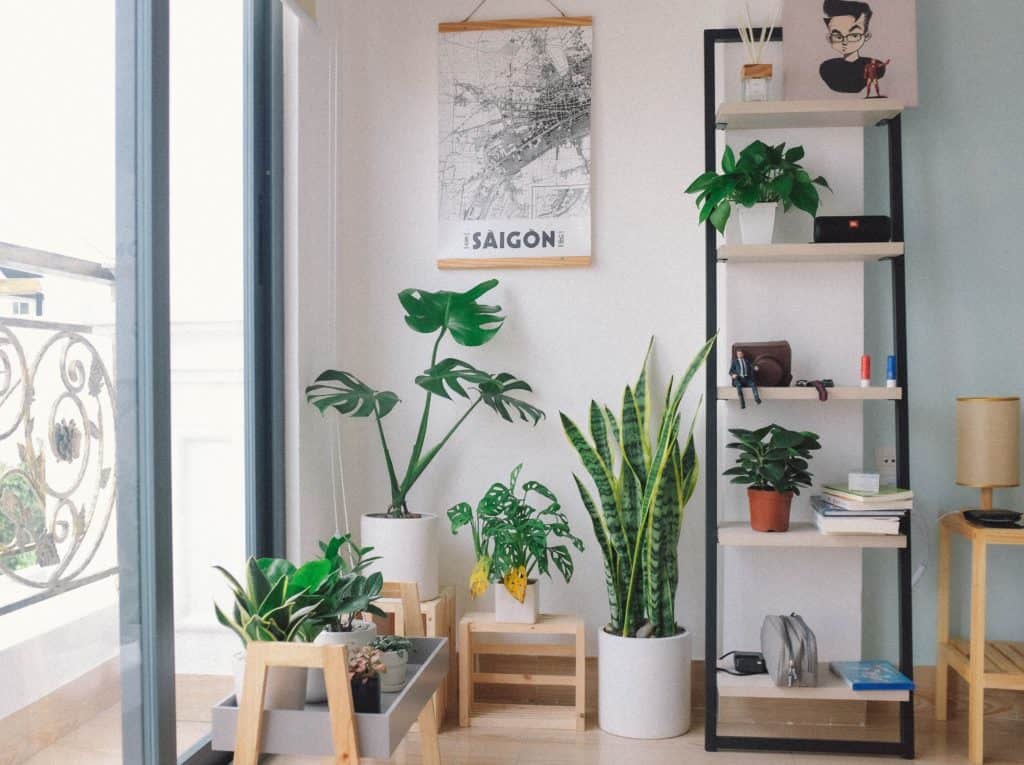
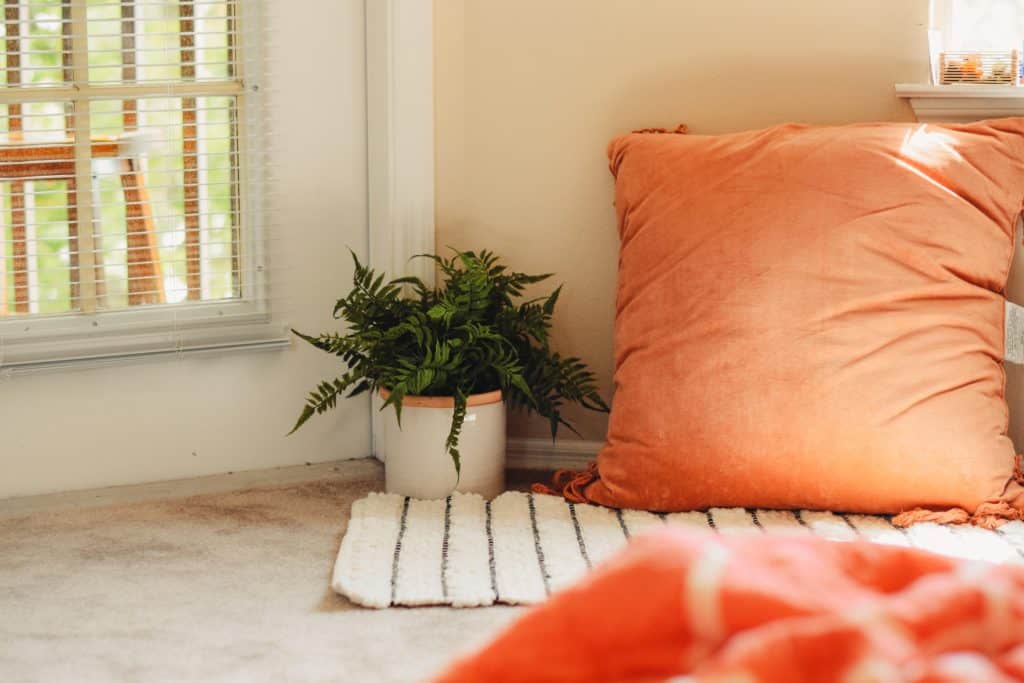
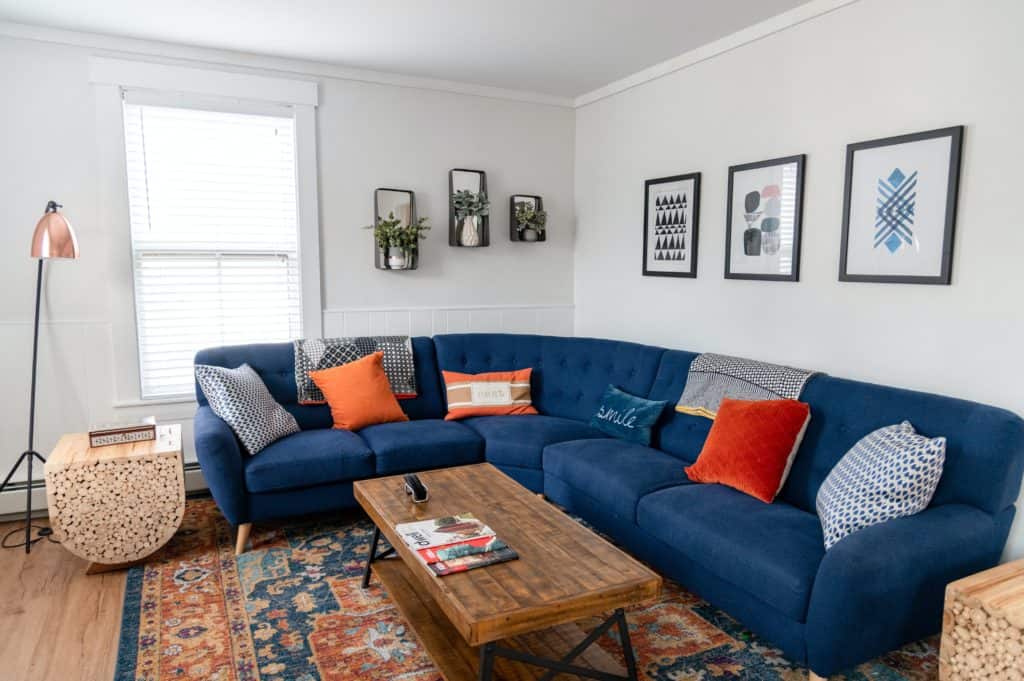
Here are a few examples:
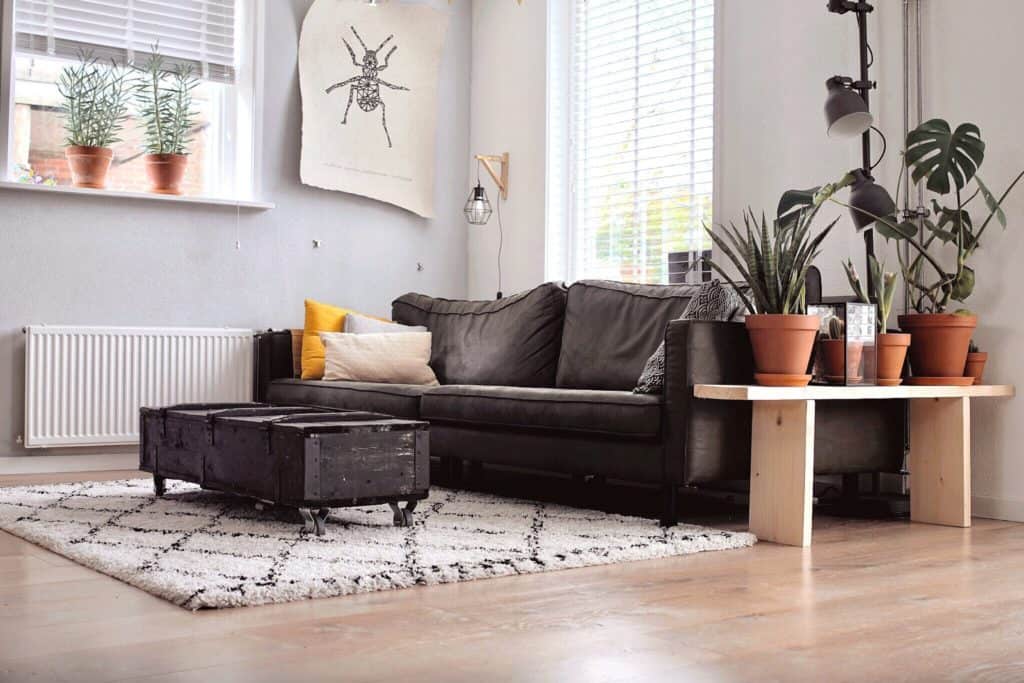
If any furniture stands in the way of your shot, just move it out of the frame! The purpose here is to capture the perfect angle, even if things look slightly different in a real-life scenario.
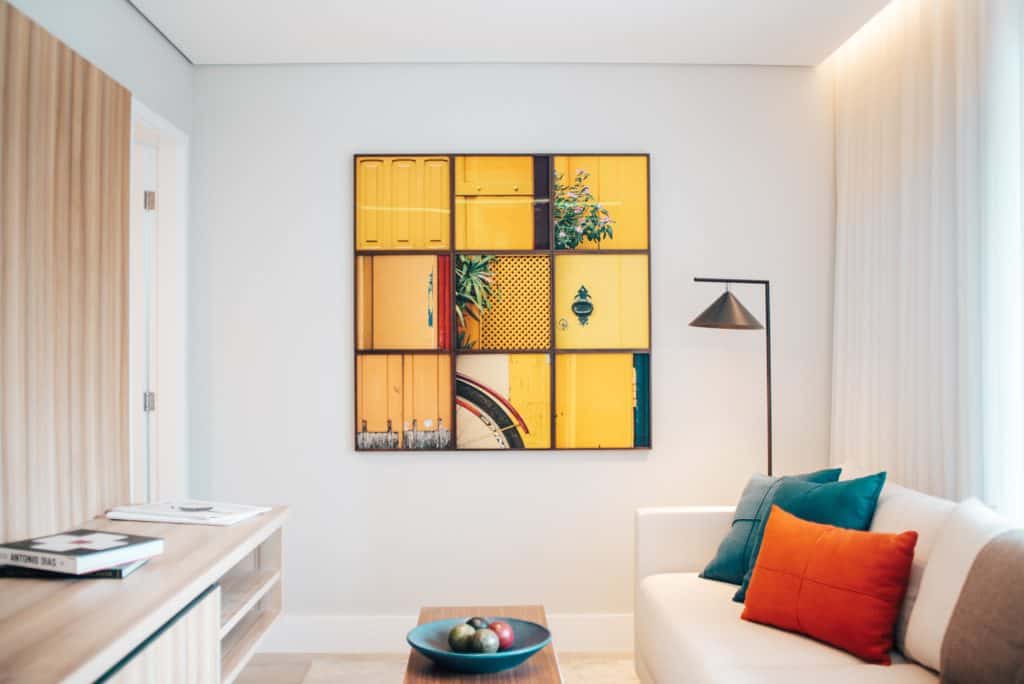
Léa encourages you to play around with props that give off a cosy and welcoming vibe, such as cushions on the sofa, a flower in a vase or a fruit bowl sitting on the table.
Léa also advises the use of brighter bedsheets, as these will brighten your photo and lift the mood.
If natural lighting is poor in some areas of the property, turn on artificial lights, even in the middle of the day, as shown below. But avoid using flash, as this will often make the room look darker by contrast.
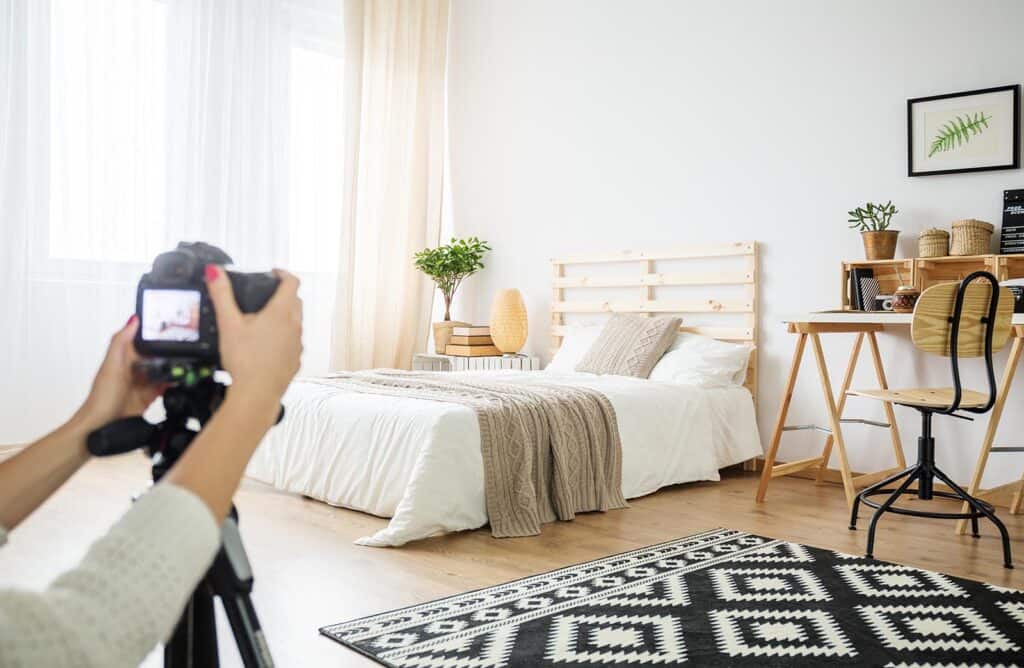
Step 3: Getting Camera-Ready

If you’re hiring a photographer, you can skip this step. Otherwise, if you do this yourself, make sure you use the right equipment – it does not have to be expensive.
Nowadays, even the cheapest camera or mobile phone can take a high-resolution picture with a minimum width of 2048 pixels, and a size between 1MB and 2MB.
And now: camera, steady, go! Let’s follow Utopix’s advice and take our shot!
1. Make sure your camera lenses are clean!
It sounds obvious, doesn’t it? Which is exactly why most people forget this… A few naughty dust particles are enough for the quality of your photos to take a nosedive!
2. Prepare your camera
- Use landscape format for your pictures, as this is the format most compatible with OTA listings. It presents better, includes more details and makes your room look spacious. Use the same format for all your pictures, even the bathroom!
- If you have a wide-angle lens, use it, especially in smaller rooms. It will make the rooms look more spacious.
- Avoid the ‘fish-eyes’ setting, as this will distort your image.
- If you own a tripod, use it to stabilise your shot and avoid blurry pictures. Keep the tripod height consistent.
- If your camera has a grid, use it while shooting to make sure the walls are perfectly aligned and that your shot is straight and professional-looking. Set your camera straight and avoid tilting it up or down, as your picture won’t align with the walls and it will end up looking unprofessional.
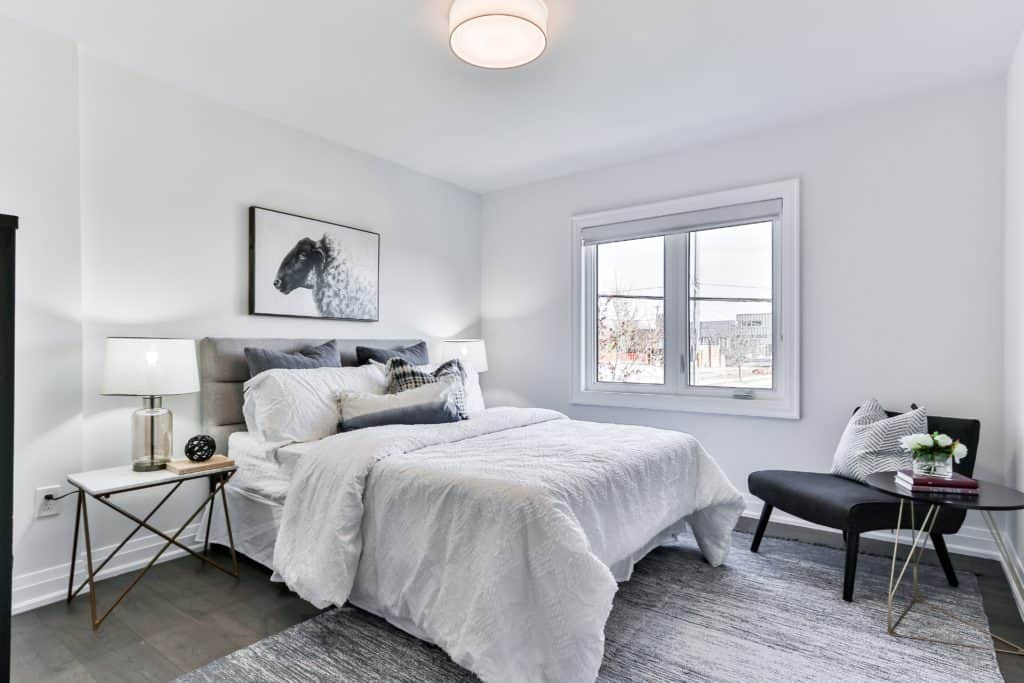
Here’s an example:
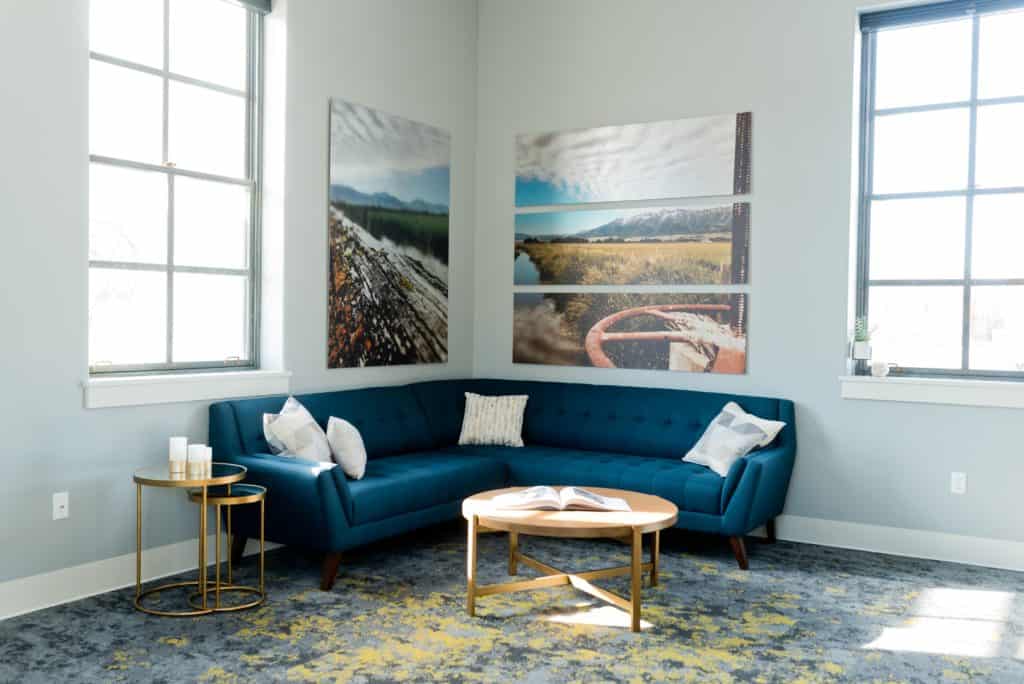
The walls are perfectly aligned in relation to the floor, and perfectly symmetrical with the large pictures that draw you in…
3. Test your angles
To make your rooms look more spacious, go as far back as you can to take your shot. Léa recommends standing in the doorframe, or in different corners of the room. This way, you get as much of the room as possible in one picture.
Play around and test different angles and corners of the room and see which one looks best!
Try to position yourself so the primary light source is behind you, as long as this does not cast a shadow or a reflection in any mirrored surfaces.
Step 4: Editing Your Photos
You’ve made it, the hard part is done! Now, all we need to do is add a few final touches to ensure that your hard work pays off.
For this final step, you need photo editing software. You can find lots of FREE photo editing tools online. Websites such as Pixlr X or BeFunky and apps such as VSCO are great options for beginners.
You can use these platforms to ‘correct’ any minor issues with your photo. If it looks a bit darker than you wanted, play with the ‘Highlights’ setting in order to brighten it a little bit without washing out its colour, something the ‘Exposure’ setting often does.
If you’d like to make your colours pop, play with colour filters to give them a little boost, but use as small a filter percentage as possible. Otherwise, your photos will look overedited!
Now, to showcase your property online, make sure that your website supports the upload and display of large, high-resolution photos in landscape format – especially on the home page! If your photos appear tiny and blurry there, it is unlikely that they will catch the eye of a potential guest.
With eviivo suite, you get a FREE single or multi-property website designed to make your photos shine. Click here to find out more.
…And that’s a wrap! You are ready to start snapping away!
Click here to watch our full webinar, titled ‘Prepare and present your property perfectly, ready for 2021’, with Interior Designer Emily May on cost-effective interior design tips guaranteed to boost your property’s curb appeal, or other ideas you can use to dress your property up for the perfect photoshoot.